Rock Art Around Las Vegas
Rock art is a precious resource. Please help protect and preserve these sites.
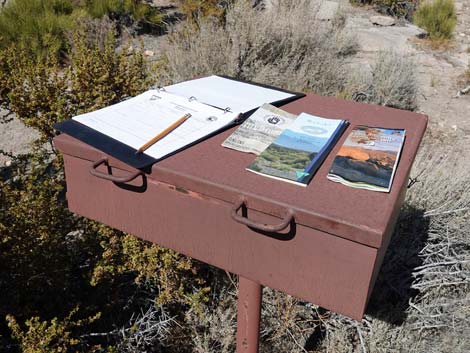
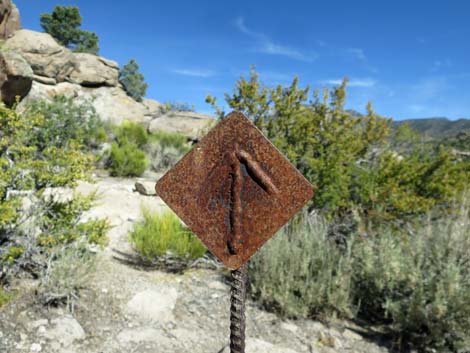
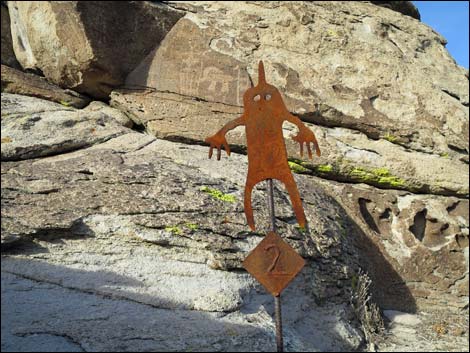 Marker style used at Shaman Hill |
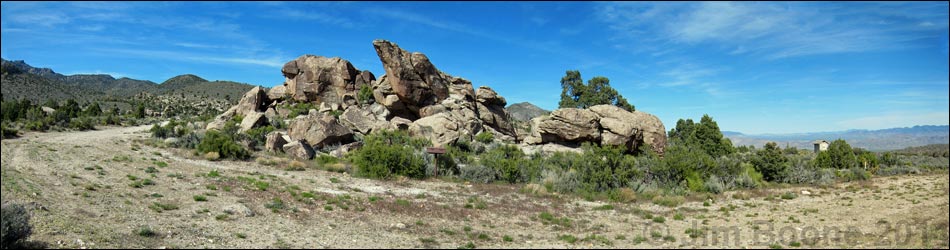
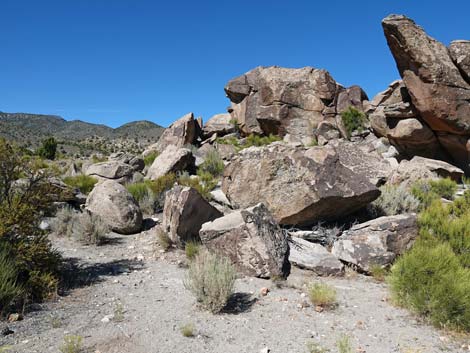
Overview Shaman Knob is one of the four main areas in the Mt. Irish Archeological District and consists of an isolated boulder pile with grand views to the east. Native peoples lived here and etched an extensive array of petroglyphs on the rocks. The BLM placed four numbered markers around the site, and the BLM and Lincoln County each produced brochures describing the numbered petroglyph panels (BLM brochure; Lincoln County brochure). Described here is the short trail the runs around Shaman Knob visiting each of the four numbered sites. Details of the location, access routes, and GPS coordinates are presented on the Mt. Irish Archeological District page. |
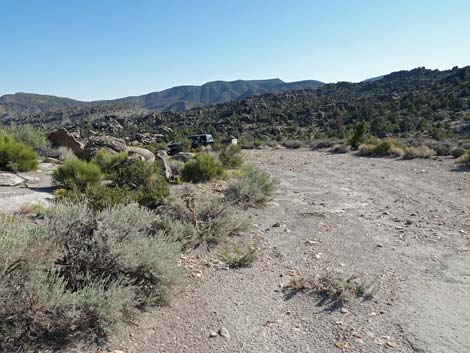
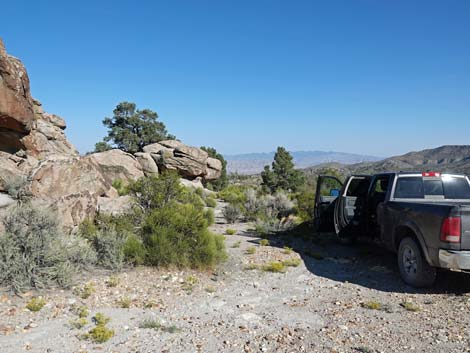
 Shaman Knob sign-in register (view N from trailhead parking) |
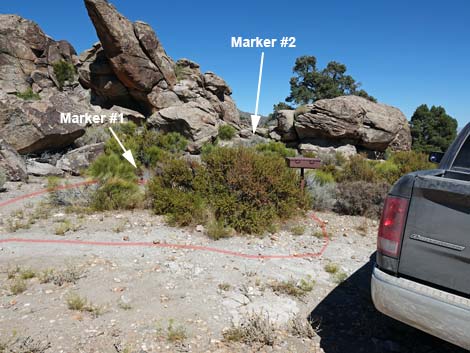
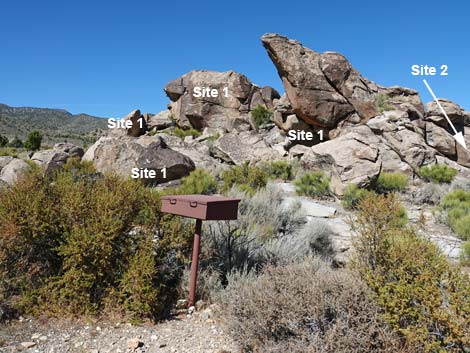
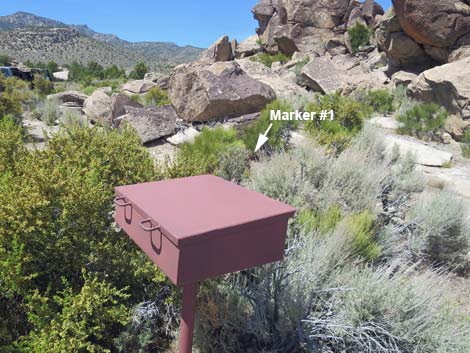
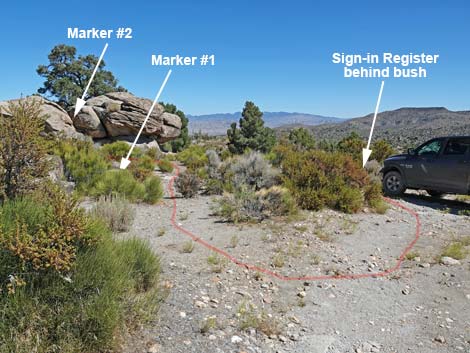
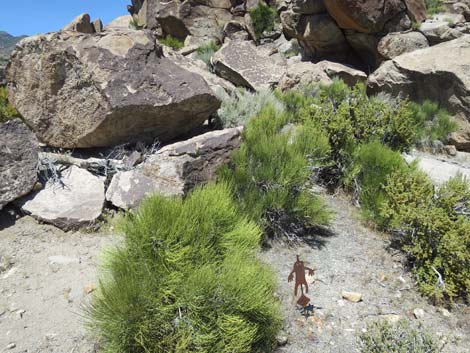
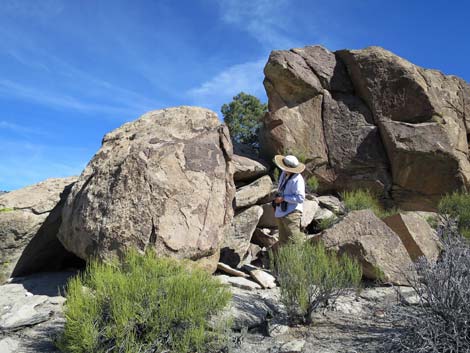
The Hike The sign-in register (Table 1, Site SK-Register) is adjacent to the parking area, and from the register, Marker #1 (Site SK-01) is 4-5 yards to the left almost hidden from view behind bushes. From the sign-in register, walk west up the road a few paces, then pick up the Shaman Knob Trail and walk back towards Marker #1, which is plainly visible from the road. From Marker #1, facing Shaman Knob, Site 1 is spread out in the view to the north. On the left skyline is a boulder with "sideways petroglyphs." Why sideways petroglyphs? -- because the boulder broke off and fell over, rotating about 90-degrees to the left. Directly behind Marker #1 (3 ft back) is a low boulder marked with a petroglyph. A bit to the right, a shady cave invites warm-day hikers so seek refuge from the sun, just as it did for the ladies who used the "bench" in the cave for a grinding stone. The rock face above is also well covered in rock stories. |
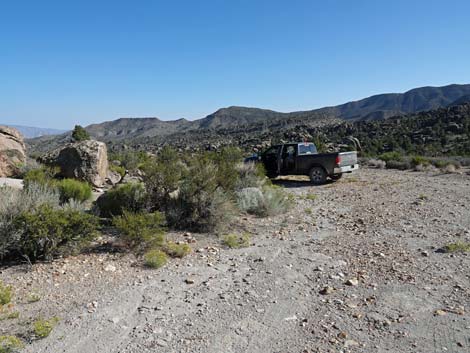
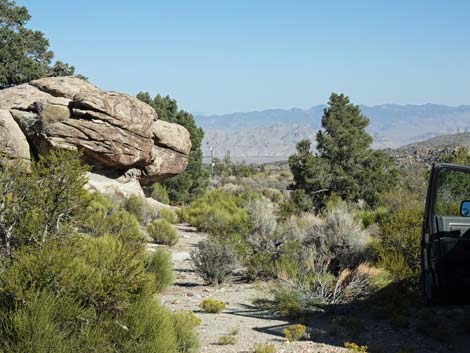
 Shaman Knob sign-in register (view N from roadway) |
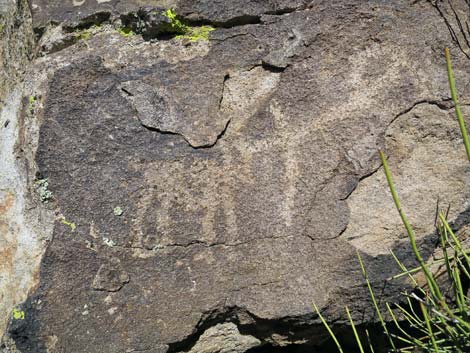
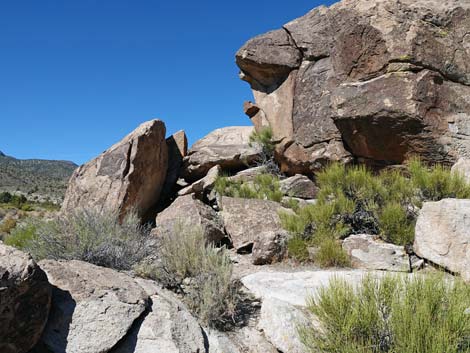
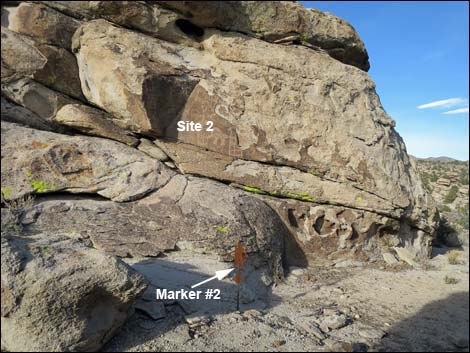
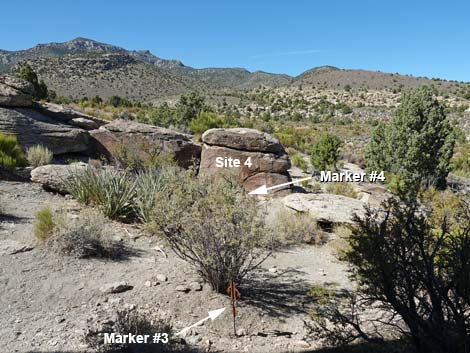
From Marker #1, the trail runs northeast a few yards into a gap between the two halves of Shaman Knob. Departing Marker #1, a small metal sign with a directional arrow indicates that the trail continues straight into the gap. In the gap, a petroglyph panel on the left is indicated by Marker #2. Site 2 includes several petroglyphs, but the fat sheep is unusual. Continuing through the gap, the trail wraps around to the left, where Marker #3 quickly becomes apparent. Facing south, Site 3 includes a nice example of a Petroglyph Man and two painted (pictographs) red lines (actually three, but two are obvious). |
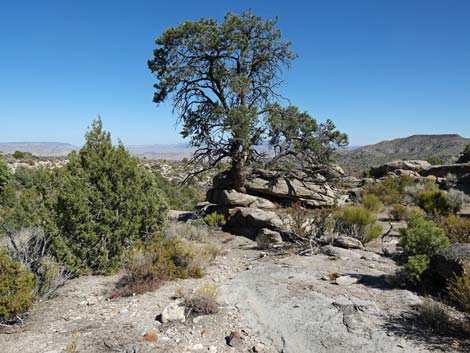
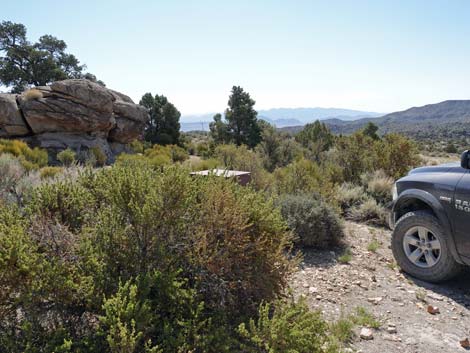
 sign-in register (view N from roadway) |
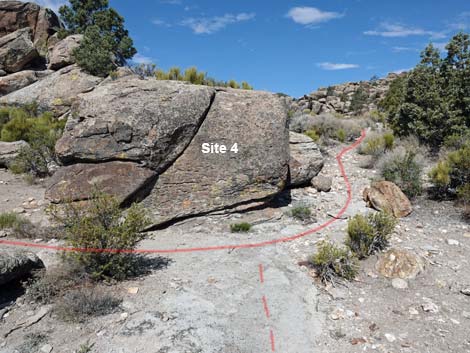
From Site 3, hikers turn around to face north and see Marker #4. Site 4 includes one smaller boulder that is marked on the south and north sides. Walking around the right side of the boulder, hikers naturally turn left to see the backside of the boulder. However, be sure to also look right (east). The gnarly pinyon growing atop a boulder pile shades some additional petroglyphs at an unnumbered Site NE. Continuing past Site 4, the trail runs west along the north side of Shaman Knob to the road, which is followed back left to the trailhead. Although not on the trail, note that Shaman Knob is composed of two boulder piles, and the trail wraps around the west half. On the southeast corner of the east half, a large pinyon pine conceals another nice petroglyph panel (Site SE). |
 Sign-in register; Marker #1 hiding in the bushes (view NW) |
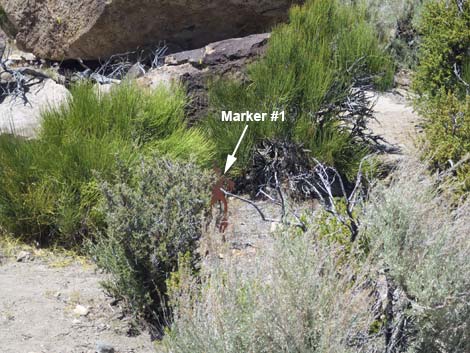 Marker #1 hiding in the bushes (view NW from sign-in register) |
 The trail actually starts just west of the sign-in register (view E) |
 Most of Site 1 is visible here (view NW from near register) |
 Marker #1 |
 Site 1: Petroglyph behind Marker #1 (view NW) |
 Site 1, west edge and Sideways Boulder (view NW) |
 Site 1: Sideways Boulder (view N) |
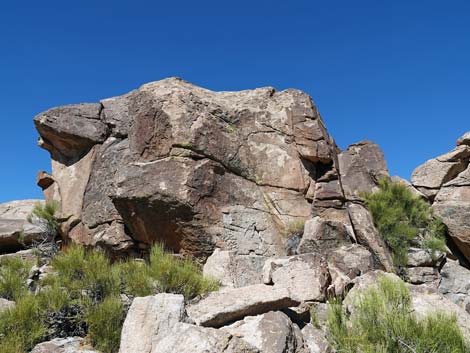 Site 1, upper wall (view N) |
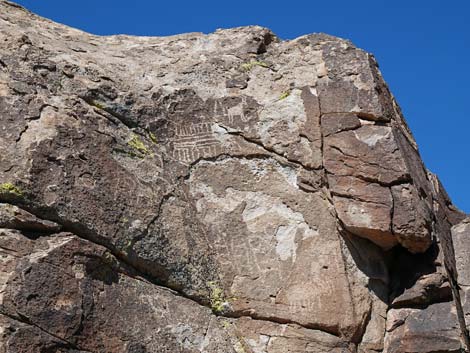 Site 1, upper wall (view N) |
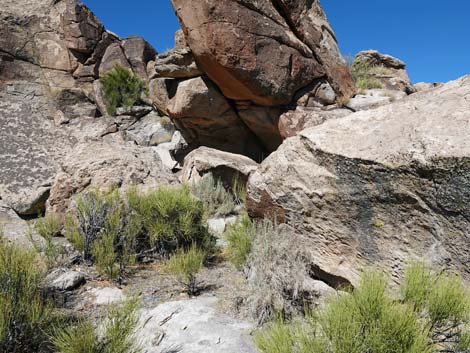 Site 1, right side; shelter site (view N) |
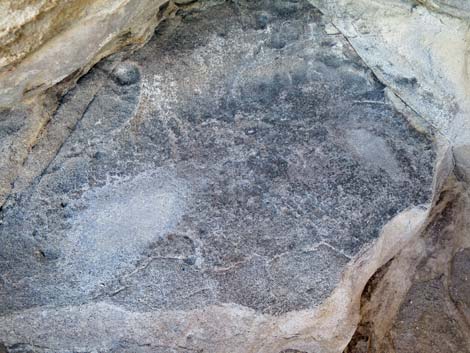 Site 1: Grinding slicks on bench inside rock shelter (view N) |
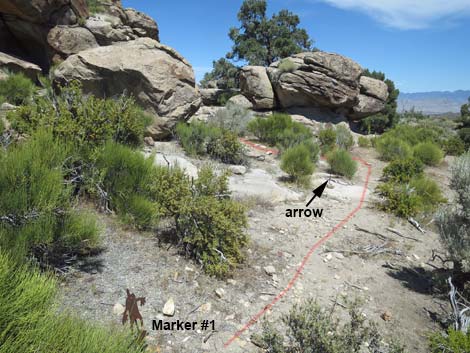 Trail continues from Marker #1, past directional arrow, to Marker #2 Trail continues from Marker #1, past directional arrow, to Marker #2 |
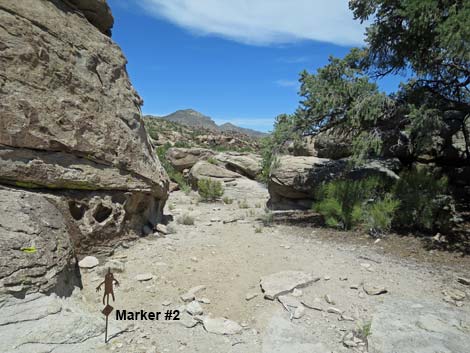
 The trail runs into a gap between the boulders (view E) |
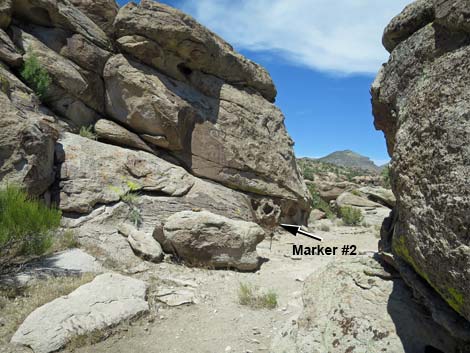 Approaching Marker #2 (view NW) |
 Site 2: petroglyph wall (view NW) |
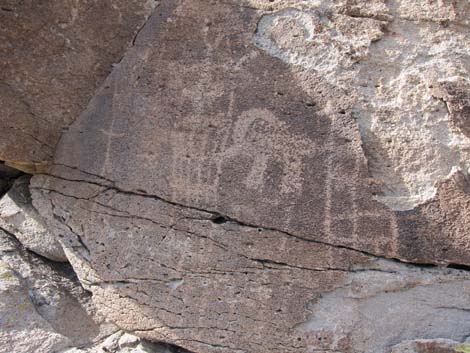 Site 2: petroglyphs (view NW) |
 Continuing past Marker #2 (view NE) |
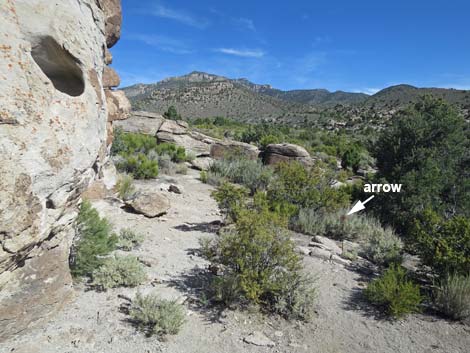 Approaching the second directional arrow (view N) |
 Directional arrow: continue straight, but stay left (view N) |
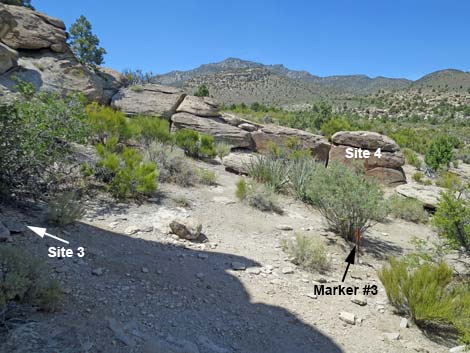 Looping behind Shaman Knob, Marker #3 becomes visible (view NW) |
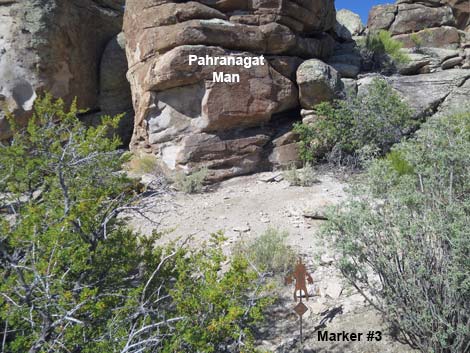 Marker #3 and Site 3: Pahranagat Man petroglyph (view S) |
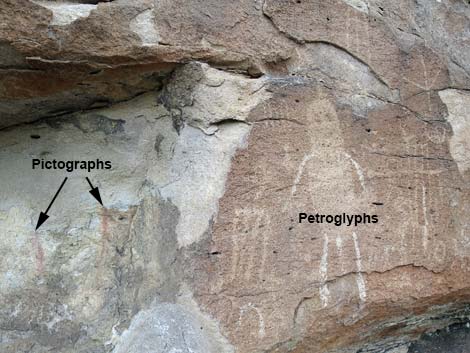 Site 3: Petroglyphs and pictographs (view SW) |
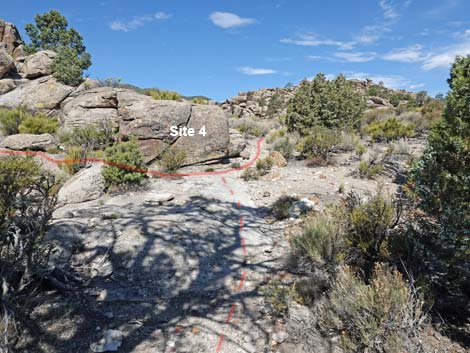
 Continuing from Marker #3, Marker #4 is visible (view NW) |
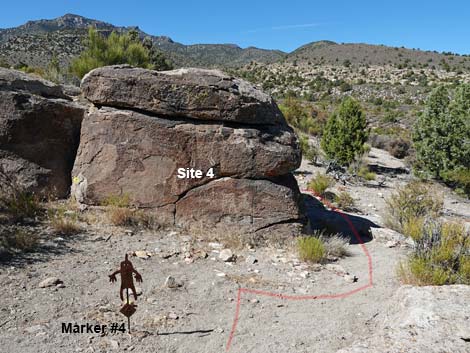 Approaching Marker #4 (view NW) |
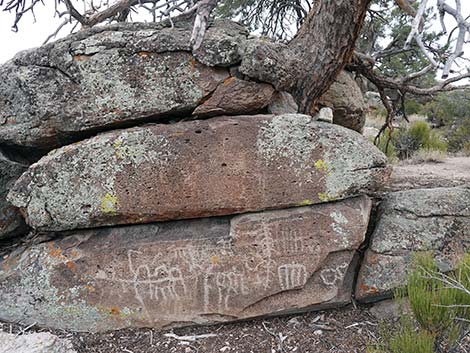
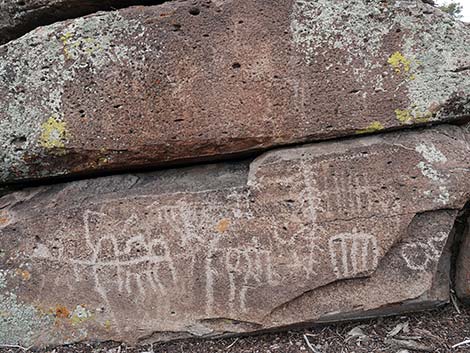
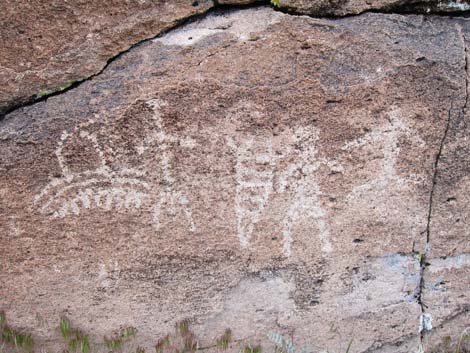 Site 4: petroglyphs (view NW) |
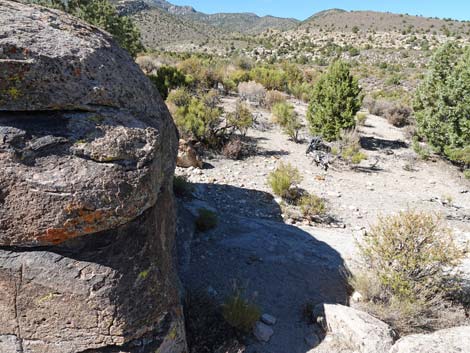 Trail continues around to other side of the Site 4 boulder (view W) |
 Trail continues around to other side of the Site 4 boulder (view NW) |
 Site 4: shady side of the boulder with petroglyphs (view S) |
 Site 4: elk petroglyph (view S) |
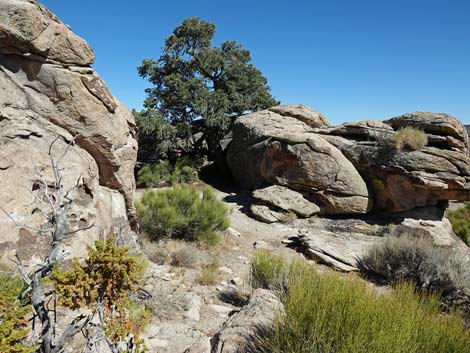
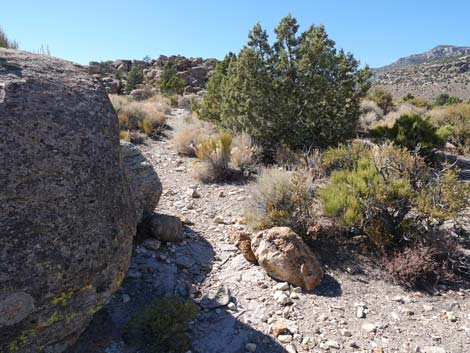
 Before continuing, detour to pinyon pine (view E) |
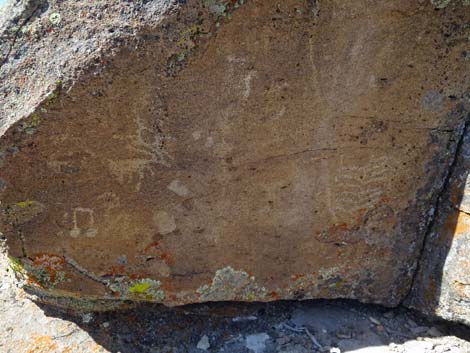
 Nice petroglyphs in the shade of the pine (view S) |
 Petroglyphs in the shade of the pine (view S) |
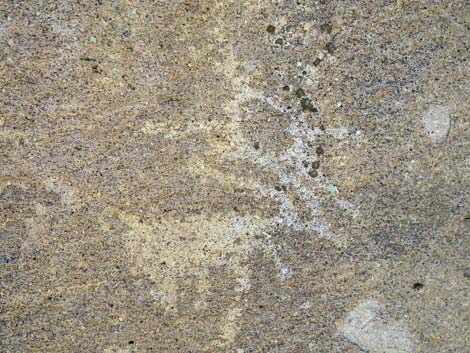
 Very faint Pahranagat Man petroglyph in shade of pine (view S) |
 Beneath pinyon pine, returning back to Site 4 (view W) |
 Returning back to Site 4 (view W) |
 Trail continues past Site 4 (view W) |
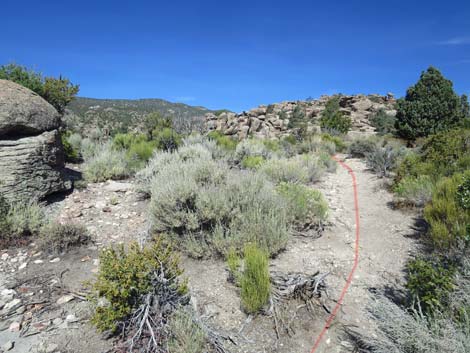
 Trail continues around Shaman Knob (view SW) |
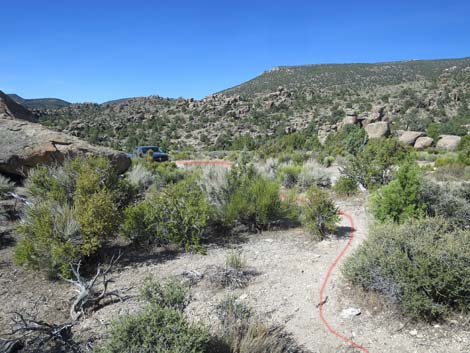
 Trail approaching the access road (view SW) |
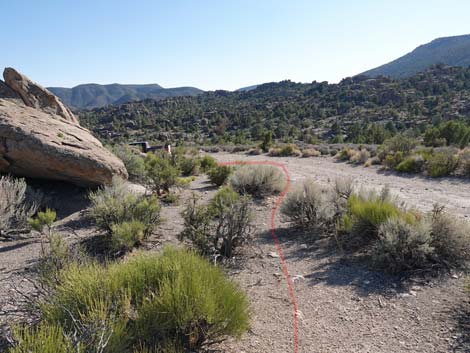
 Trail merges onto the access road (view SW) |
 Trail runs on access road (view S) |
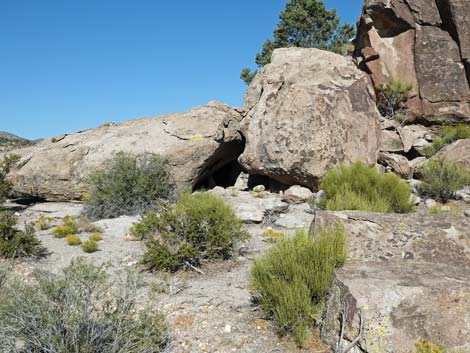 Be sure to notice shelter site on the way back to the trailhead |
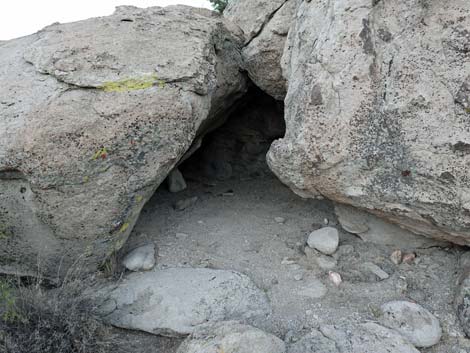 Shelter site (view NE) |
 Trail returning to the trailhead (view SE) |
 Back to the start of the loop trail (view E) |
 Arriving back at the sign-in register (view SE) |
Table 1. Hiking Coordinates based on GPS data (NAD27; UTM Zone 11S). Download Hiking GPS Waypoints (*.gpx) file.
| Waypoint | Location | Easting | Northing | Elevation | Verified |
|---|---|---|---|---|---|
| SK-Register | Shaman Knob Sign-in Register | 643217 | 4163199 | 5,725 | GPS |
| SK-01 | Shaman Knob Marker #1 (est) | 643220 | 4163211 | 5,733 | GPS |
| SK-02 | Shaman Knob Marker #2 | 643236 | 4163214 | 5,727 | GPS |
| SK-03 | Shaman Knob Marker #3 | 643236 | 4163225 | 5,719 | GPS |
| SK-04 | Shaman Knob Marker #4 | 643235 | 4163231 | 5,721 | GPS |
Note: SK = Shaman Knob
Happy Hiking! All distances, elevations, and other facts are approximate.
![]() ; Last updated 240323
; Last updated 240323
| Rock Art | Glossary | Copyright, Conditions, Disclaimer | Home |