Hiking Around Las Vegas, Gold Butte National Monument
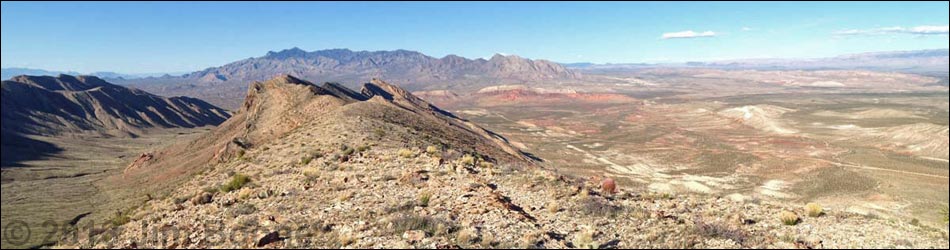
 Paradise Peak (view E to Grand Wash Cliffs in Arizona) |
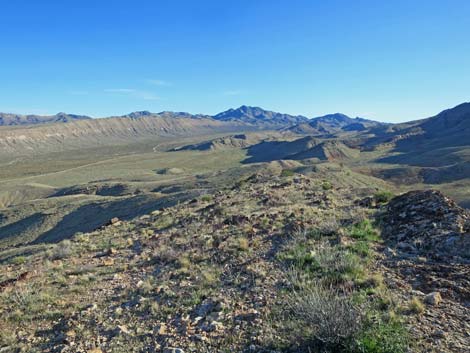
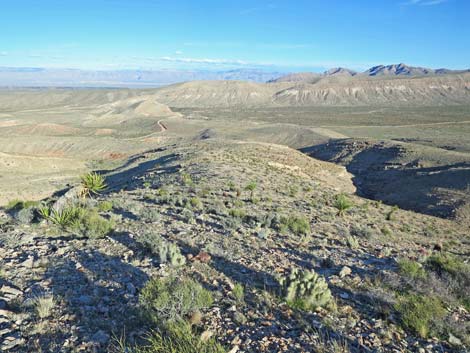
Overview Paradise Peak (3,917 ft) (aka Peak 1190) is the high point on Paradise Ridge, the east-most ridge in the north-south trending Tramp Ridge Complex. Climbing some 800 ft over 1-1/2 miles, this is an excellent route onto a narrow ridge with spectacular views to the north, east, and south that extend into Arizona and Utah. Without a trail or many landmarks, this is a good orienteering route or just a good off-trail map-and-compass adventure. There are many ways to get there, and in this open country, hikers are free to find their own best route except that the sideslopes are steep and loose. Described here in photos is the return to the trailhead. For details of the ascent, maps, and GPS coordinates, see Paradise Peak Route. |
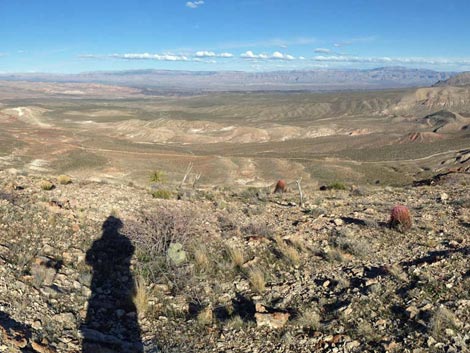
 Paradise Peak (view SE to Grand Wash Cliffs in Arizona) |
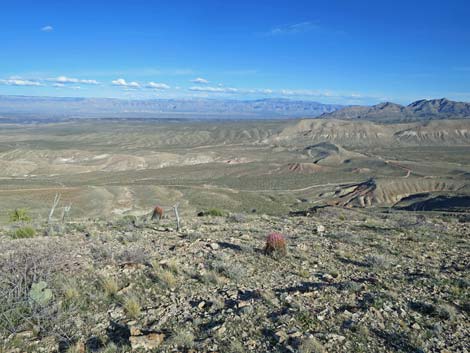
 Paradise Peak (view S to Azure Ridge and Summit Peak) |
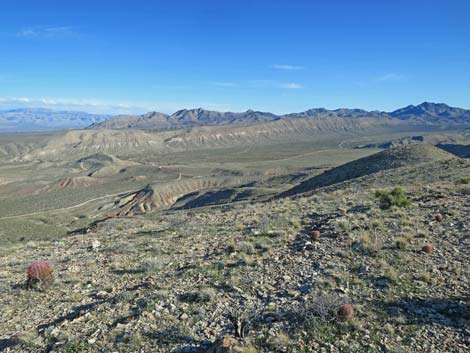
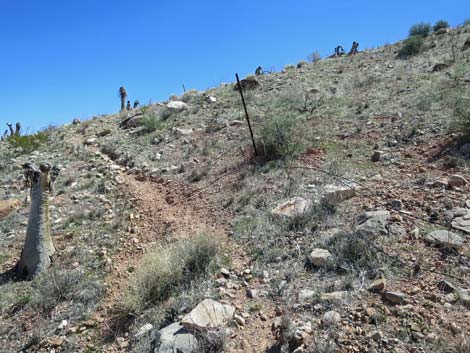
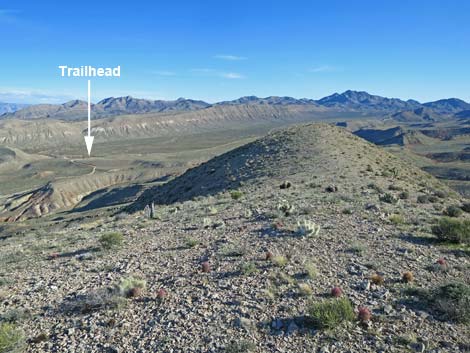 Paradise Peak (view S along Paradise Ridge towards trailhead) |
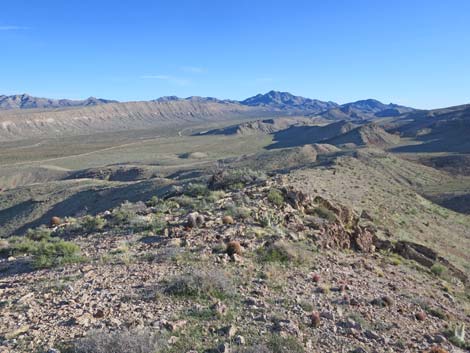
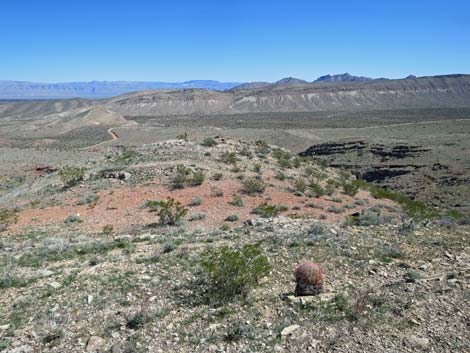
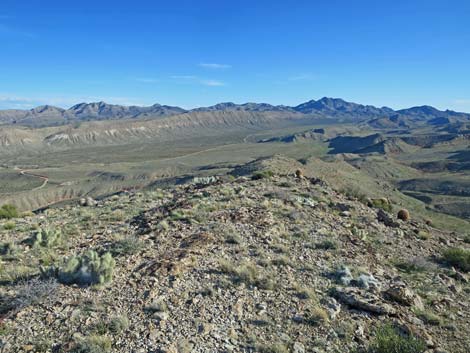 Route runs down the crest of Paradise Ridge (view S) |
 Route runs down the crest of Paradise Ridge (view S) |
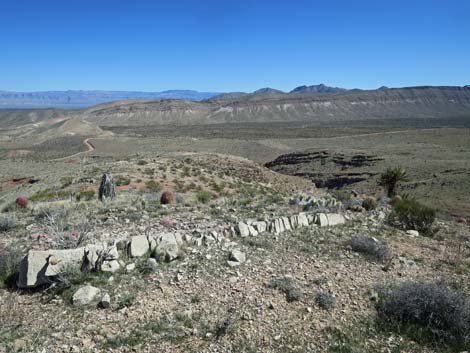
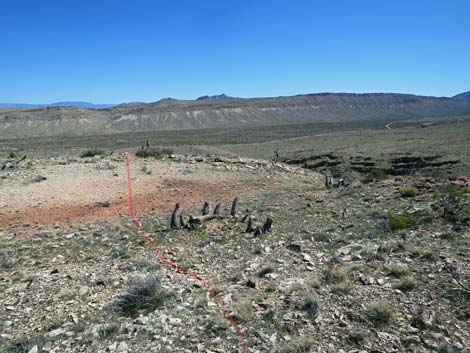
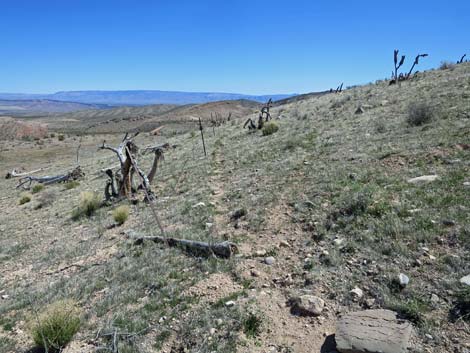
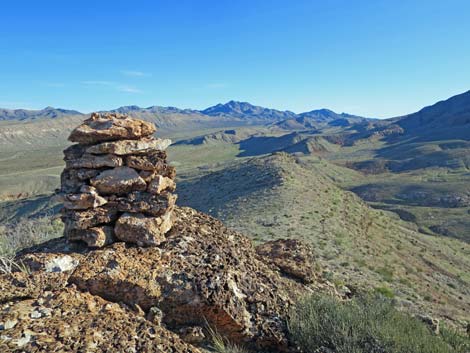 Large stone cairn used to mark an historic mining claim (view S) |
 |
 |
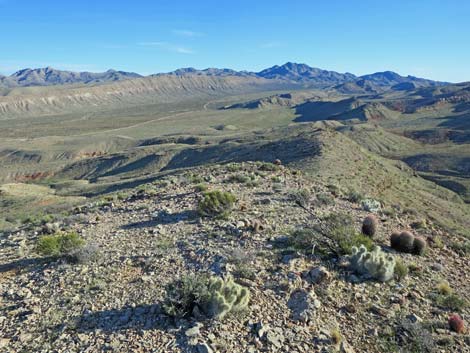
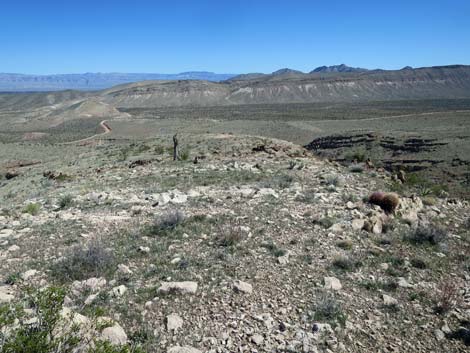
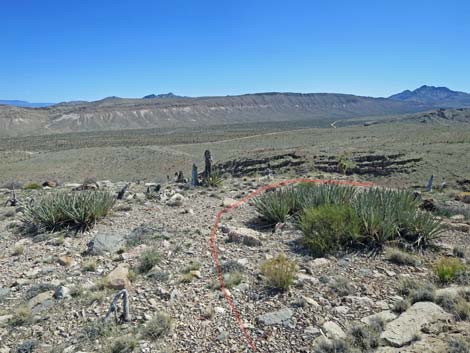
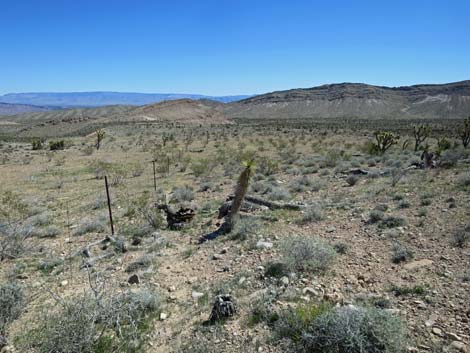
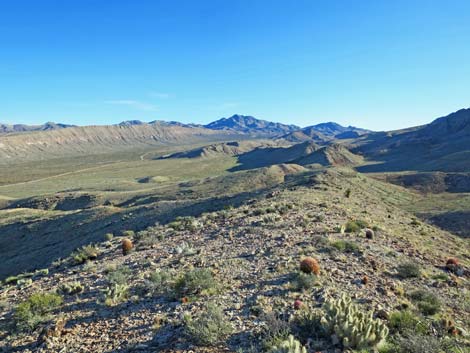 Route runs down the crest of Paradise Ridge (view S) |
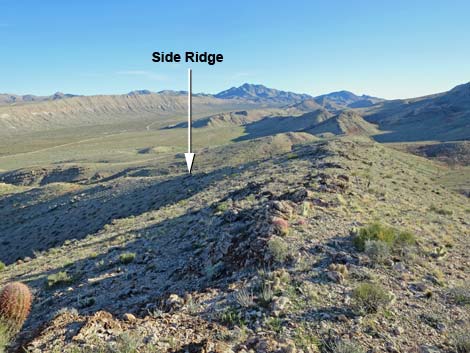 Approaching toe of ridge and side ridge (view S) |
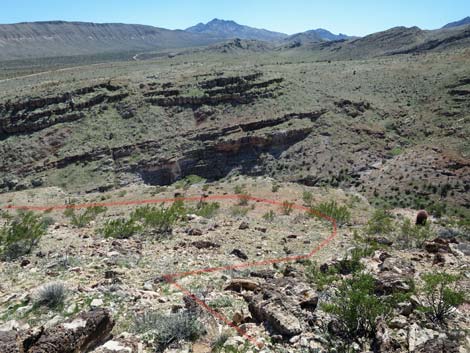
 Toe of the ridge (view E down side ridge) |
 Descending the side ridge (view E) |
 Exposed rock layers on side ridge (view SE) |
 Approaching upper red layer on side ridge (view SE) |
 Descending the side ridge (view SE) |
 Approaching lower red layer on side ridge (view SE) |
 Return to patch of Banana Yucca on the side ridge (view SE) |
 Top of steep part (view SE) |
 Below steep part, more gentle terrain (view SE) |
 Descending into the canyon (view SE towards burro trail) |
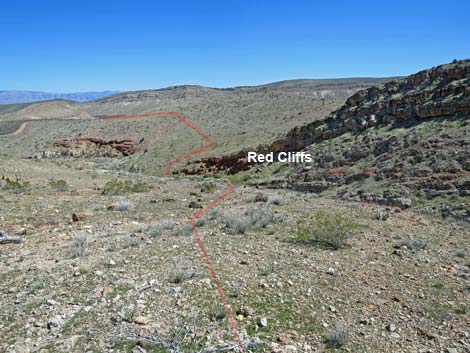
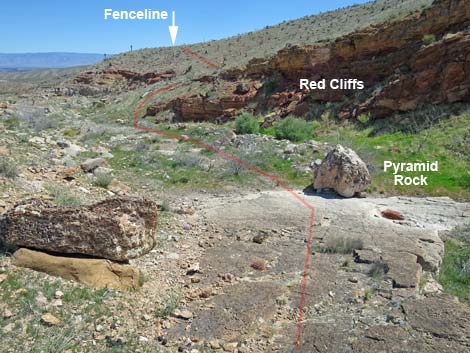 Returning to Pyramid Rock in wash (view SE) |
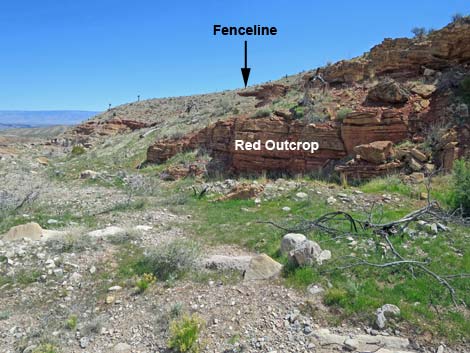 Route runs down wash past red outcrop, then turns right (view SE) |
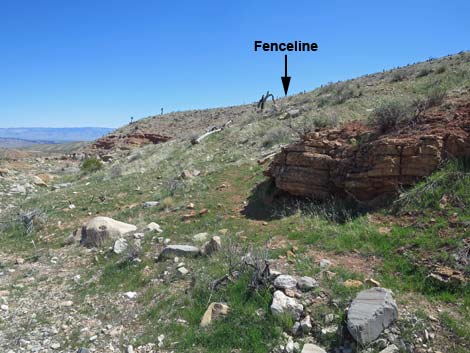 Passing red outcrop, route turns up hillside (view SE) |
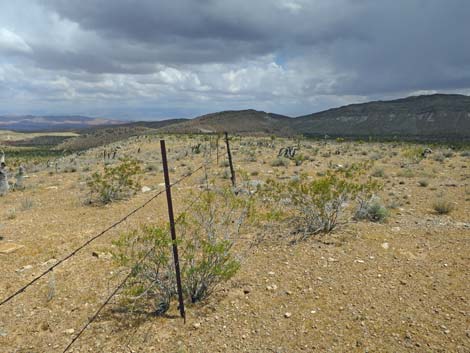
 Burro trail runs through gap in the barbed-wire fence (view SE) |
 Burro trail parallels the barbed-wire fence (view E) |
 Burro trail parallels the barbed-wire fence (view E) |
 Fence bends to the left (view E) |
 Burro trail fades out, but route follows the fence (view E) |
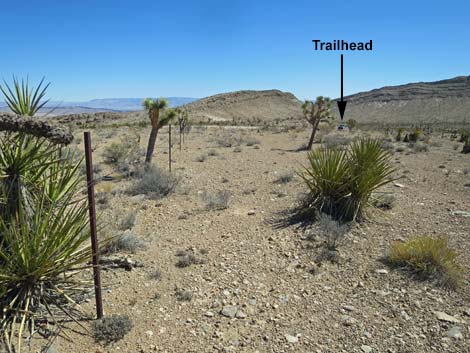
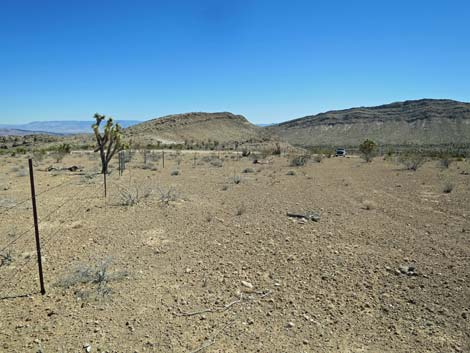 Fence bends to the right (view E) |
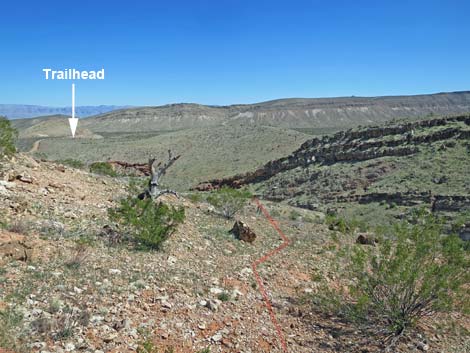
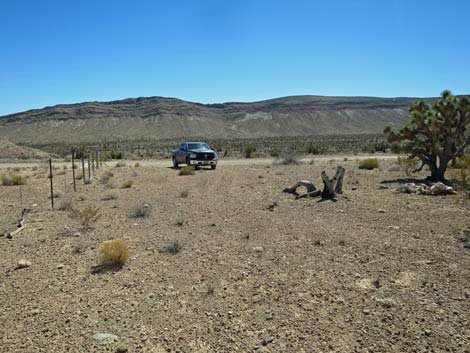 Returning to the trailhead (view E) Returning to the trailhead (view E) |
Happy Hiking! All distances, elevations, and other facts are approximate.
![]() ; Last updated 240325
; Last updated 240325
| Hiking Around Gold Butte | Hiking Around Las Vegas | Glossary | Copyright, Conditions, Disclaimer | Home |